There are few "toys" as universal and wonderful as play dough, and allowing children to customize it was a hit, time after time. I used a tried-and-true recipe (see below), and worked with the children in small groups to find things in the garden that look and smell beautiful, concentrating on the herb spiral. The children were able to snip oregano, thyme, sage, basil, and lavender; they also gathered some flower petals to add in.

I noticed that, from the very start, many of the children took their piece of play dough and split it into a few small pieces, and they made a few different small balls. The first group of children I did this activity with were 7-12 year olds, and while they were just as engaged as the younger ones that did this a week later, they approached it differently. There is a lot of room for creativity and independence here, and that was clear as the children began to find ways to dye the dough.

You can see a small raspberry on the mat here: once one girl asked about using a blackberry for color (we were right next to a big bush with a few ripe ones on it), it was a popular choice. We saw experimentation with blackberries, raspberries, grass muddled in a mortar and pestle, attempts at crushing flowers with rocks - truly endless possibilities!
This activity was a natural addition to the explorations we had been doing in the garden, and I was glad to find that it was interesting for a variety of ages, too. As one of the 11-year-olds said, "No one ever asks if I want to play with play dough anymore!"
Garden Play Dough
Original Recipe from Tiny Bird Organics
1.5 Cups Flour
1/3 Cup Salt
2 teaspoons Cream of Tartar
1.5 Cups Water
1.5 Tablespoons Oil
In a pot, whisk together the dry ingredients; when uniform, add the wet ingredients and put the pot over medium-low heat. Whisk to make a uniform matter : it will look like pancake batter. Switch to a rubber spatula and stir slowly, ensuring that you are moving the batter from the bottom of the pan.
When you notice parts beginning to solidify, continue stirring to be sure that liquid parts are getting to the bottom of the pan to cook. When it has formed a rough ball with no more wet-looking edges, move it to a counter or board and knead as it cools.
(Note : You can cook the play dough with the kids, of course, but for this particular activity, I made the dough and the kids joined in for the next step!)
Split the dough among the kids, and either have herbs available, or harvest herbs together. Encourage them to use scissors to cut them into small pieces or distribute the scent well; you can also have other tools available, such as a mortar and pestle, a hand chopper (I love this one ), or really anything else you (or the kids!) can imagine.


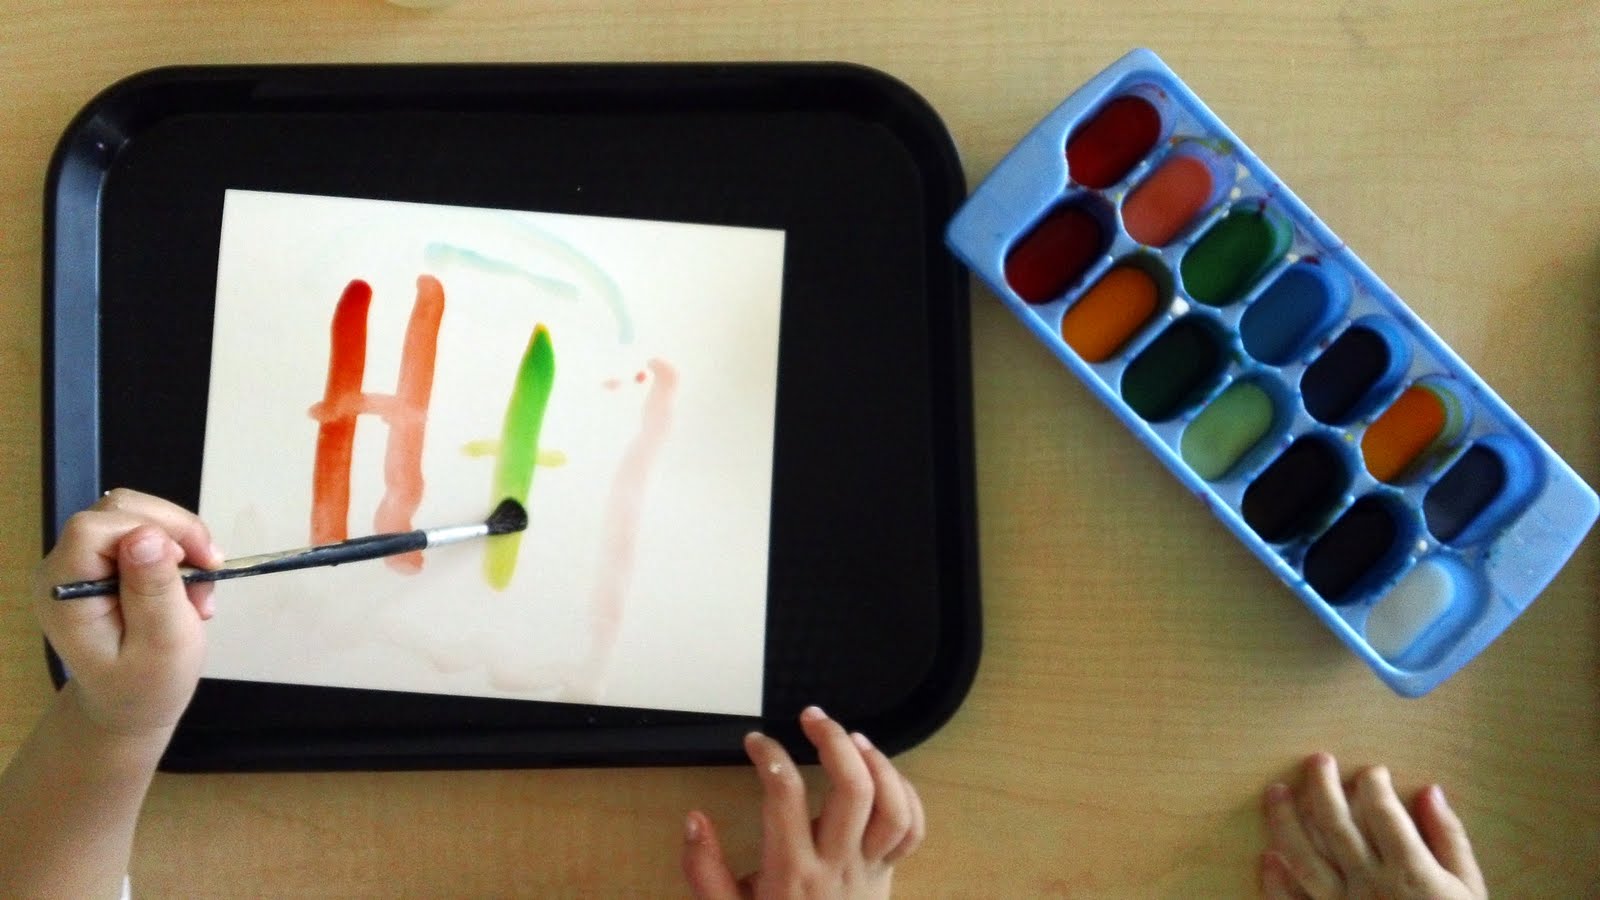
 (which are sitting in my amazon cart right now), and we'll be trying those soon. We'll probably use the ice cube tray again, putting a bit of color from a tube into each part of the tray.